I have been a bit busy with other stuff, among other things I'm working out plans for a gaming table for me and the kids. Yay, gaming table FTW! I suspect it will be covered in Lego and other toys half the time, but it's better than trying to squeeze a game in between meals on the kitchen table. I have also bought a combined lamp and magnifying glass to combat my poor old Mk. 1 Eyeballs. It's not so much a case of my eyesight deteriorating as my light sensitivy going; in short I need more and better lighting to see what I'm painting than before. Yes, I know it's a sign of aging too, and I thought I'd kill two birds with one stone getting the magnifying lamp right now before I really need it.
 |
| My painting table. The circular hatch on the lamp opens to reveal a magnifyer. |
With my new shiny (heh, get it?) lamp I have been doing some work on my brits, as well as a couple of LotR figures, but I'll save those for another post.
I have been having trouble with the colour of british armour. They were Olive Drab, but not the same Olive Drab as US armour. Apparently the correct shade of Olive Drab for US equipment is also a much and highly debated question, and
here is a great article by Stephen Zaloga which I think settles the matter. The british vehicles were a bit greener, but not that green. Several online guides including
Flames of War recommends
Vallejo 924 Russian Uniform. I'm no expert, but it just looks wrong in my eyes. It has the right tonal qualities but is too light. It might be the scale effect that makes Vallejo 924 look better on of 15mm compared to 20mm models. So I experimented with various mixes of Olive Drab, Russian Uniform, black wash, Devland Mud, and so on until I felt I got a shade that looked the part.
 |
| PSC Carriers,photobombed by a Revell british figure... |
In the end I decided that
Vallejo 924 Russian Uniform drybrushed over a basecoat of
Tamiya XF-62 Olive Drab got the best results. Final highlights were done on the edges and top surfaces with a mix of
Russian Uniform and
GW Iyanden Darksun to give a warmer light green. Since each carrier recieved a varied amount of basecoating and/or washes before I decided on a common method there are some slight variations in their shades, but that just adds to the realism I think. Tracks, crew and other details are still to be painted though.
 |
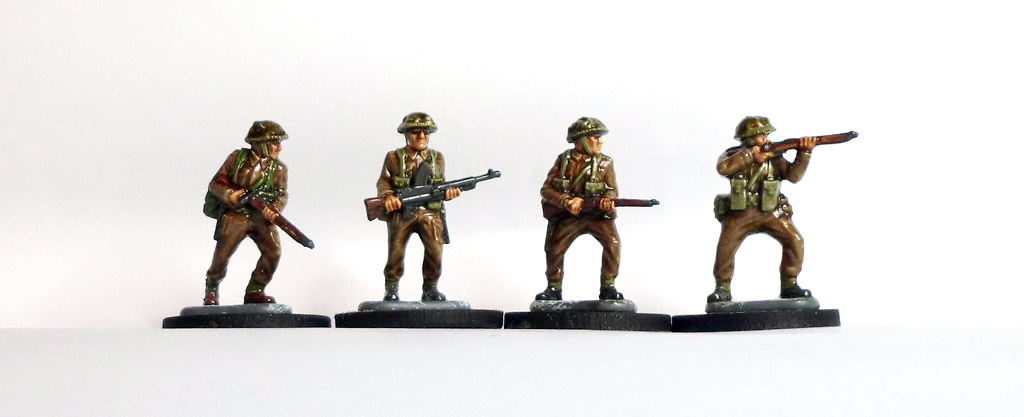
| I do like all the advancing poses of the PSC infantry sets. |
I have also plodded along and painted another six infantry, using the same method as I
described earlier. They were all dipped and as it's too cold to spray on varnish they are still shiny.
 |
| The famous Bren Gun can be seen here, in a better casting than included in the carrier set. |
The PSC figures take the dip very well and I'm happy with the results. Just the bases left to do, and varnishing of course.
 |
| The full squad. |
And there you have it. To quote Churchill:
"Now this is not the end. It is not even the beginning of the end. But it is, perhaps, the end of the beginning."
Until next time, may your paints never dry out and your dice roll high.


Enjoyed your post! Your figures and vehicles look lovely!
SvaraRaderaGood work! :)
So, I need to get a can of Tamiya XF-62 to make sure my carriers match yours, then?
SvaraRaderaWell... They don't need to be identical. But Wentzells should have it and it's useful for US stuff too.
RaderaOh, a reason to visit Wentzells, nice!
RaderaNice progress Leif! :)
SvaraRaderaGreat looking infantry, the dip technique works really well, as does your approach to the armour. I might try the Tamiya Olive Drab, I've been struggling to find the right shade for US armour recently.
SvaraRadera